Monday, August 12, 2013

Tame the tiger in the palm of your hand.


I love the Renaissance Faire! How can you not? It's a place where you can walk around wearing corsets and crazy masks and articulated puppets without being told to grow up or put on some real clothes. It's a place where real music still sometimes rears its head and honest to goodness fire-swallowers try their best to impress the heck out of you. (They always do.) The Ren faire is this magical idealized version of a time where there were not nearly so many privies scattered about or quite so many microphones sewn onto costumes, but we love it anyway for the charm and merriment and total weirdness it encourages. 

I go to the Pennsylvania Renaissance faire as often as I can and, being the person that I know you now suspect me to be, I spend a whole lot of time being enamored by the food. The Faire has been hoarding an ever-growing collection of imaginative and delicious vegetarian dishes, of which my new favorite is their Tiger Pie. 

Oh, what's that? You've never heard of a tiger pie? Hit up my buddy Google and you'll find that it is not a dish of the renaissance but rather, a dish of a small establishment in Australia. The simple concept of which is a flaky crust topped with your choice of filling, a generous helping of mashed potatoes, and a smattering of sweet green peas. You're also encouraged to spoon a bit of gravy in there if it suits you. Essentially, it's a classed-up, year-round version of every open-faced after-holiday sandwich you've ever dreamed of. Oh HECK yes.


Now if only you knew how to make it handheld. 


For mushroom filling:

3/4 cups chopped carrots
1/2 a diced onion
3 cloves fresh, minced garlic
10 oz. package cremini mushrooms, roughly chopped
3/4 lb fresh, diced tomato
1 sprig rosemary
1/2 c. Dried lentils
1/8-1/4 c. Red wine
2 1/2 c. Hearty vegetable broth
Tiny splash of balsamic vinegar
Light sprinkling of salt and pepper


For crust:

3 cups flour
2 cups cold, salted butter-chopped into small cubes
1 cup cold water
Dash of salt


For mashed potatoes:

5 cloves garlic
4 c. cubed potatoes
1/2 c. Sour cream
1 TB. Fresh chopped chives
Plenty of salt and pepper to taste. 
Whole stick of butter. No joke. 


For minted peas:

1 c. Frozen green peas
3-4 fresh mint leaves
Wee bit of salt 

And, of course, a hearty dose of olive oil to lube every surface being used. 


This recipe is not difficult, but it does have a lot of components to it. If you're clever and manage your time well, it should take about 2.5-3 hours from start to finish, including time in the oven. But if you want to be more relaxed about it, do whatever you'd like. I'll be writing this for the efficient little freak in all of us in case yours decides it wants to play today. 


First, we start with the filling!

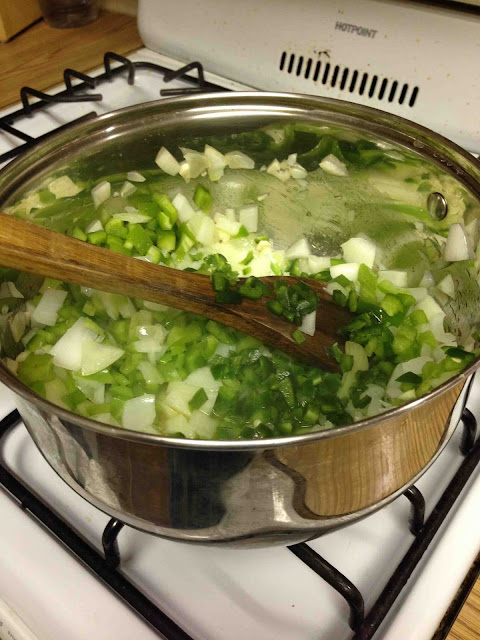
Just about every food I make starts out with some form of "take large pan. Put in oil. Chop garlic and onions and cook until translucent." THIS IS NO DIFFERENT. Well, maybe a little different. In addition to putting the 3 cloves of garlic and half a diced onion into the giant pan over medium heat, you will also be adding the cup of cut carrots. Don't know what carrots look like when cut and measured into a cup? Let me show you!


If I take another nondescript picture of onions and garlic in a pan I'm going to lose my mind. Figured we'd go for a change in scenery. 

Once the previously mention translucence of the garlic and onion is achieved, you should notice that the carrots are slightly softened. PERFECT. It's at this point that you're going to want to add your chopped mushrooms. I find I like the rustic randomly-hunked-up mushroom texture but hey, if you want your pieces thin and uniform that's your deal man, and I applaud you for taking your own path. Right on. 

While the mushrooms are getting themselves nice and sautéed with those onions and carrots, dice up your tomatoes. 


Mmm, tomatoes. The purpose of the tomatoes is to add a bit of acid and lliquid as well as a slight sweetness and that distinctly tomato-style savoryness that only this nightshade could bring. So, when you cut these bad boys, make sure to scoot all those tasty tomato guts straight into the pot, too. Then top the lot with your sprig of rosemary and cover it for a bit to encourage the tomatoes to soften and spread their sweet sweet lovin to the rest of the party. You're going to want to lower the temperature to medium-low rather than straight-up medium. Oh, and go ahead and give it that small splash of balsamic before covering it up. 


It's at this point that you'll want to start making your pie dough. 

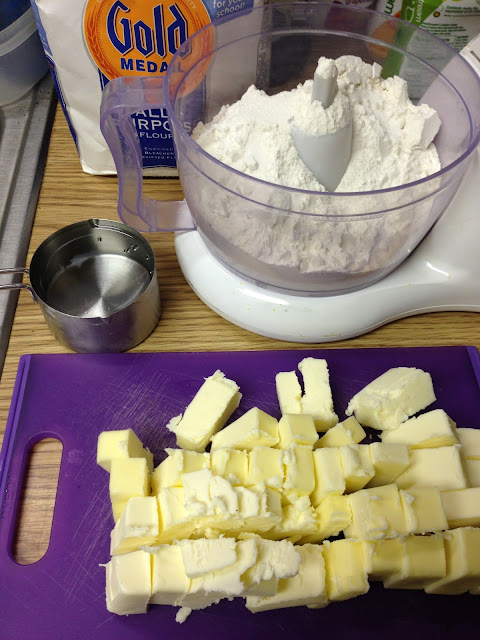
I get a lot of flak for binge-watching cooking shows like Iron Chef but gosh darn if I don't somehow learn stuff from them! In one episode, someone started putting stuff in a food processor and all I can remember is Alton Brown saying "looks like they're going for a classic 3-2-1 pie crust!" The three being three parts flour, the two being two parts fat, and the one being one part water. SO. To make this as simple as possible, I went for the literal translation: three cups flour, two cups butter, one cup water. And a wee bit of salt because WHY NOT. 


You would assume from this photo that I, too, performed the food processor maneuver. BUT YOU WOULD BE INCORRECT. Apparently my food processor has not miraculously recovered from the last time I used it to make hummus and tragically managed to destroy it. Having completely forgotten said event ever occurred, I was quite befuddled when the blade made but one rotation and then smelled suspiciously of burning electronics. 

Whatever. Just means you've got to squish the butter and water into the flour by hand. Gosh, what a terribly difficult solution. I recommend putting the flour Into a very large bowl and dousing it with the water. Mix them together until they're good and familiar with one another and start chucking your diced up butter in one handful at a time. Make sure to take care to evenly squeeze the butter chunks in throughout the dough between handfuls. 

The end result will be a bit chunky and uneven and that's EXACTLY what we're looking for. Those little hunks of butter studded throughout the otherwise firm dough are just how I remember it from the thanksgivings of my youth. That smooth and characterless dough they sell in supermarkets is a cryin' shame. 


Cover your dough with plastic wrap and let it rest in a not-warm but not-cool place. 

By now, the mushroom mixture should be Gettin' all bubbly-like. Perfect! Take this opportunity to add the lentils, veggie broth, and wine. Cover it again and let simmer for about 45 minutes, or until the lentils are plump and soft. 

Don't know a darned thing about wine? Neither do I! Neither the hunky-dreamy nor I drink so we were both kind of concerned that we'd end up getting stuck with a huge bottle of wine to throw away afterwards. NOPE. 


Turns out wine is sometimes sold in tiny little bottles! Perfect! Now I must say I suspect that this wine is of no actual quality for a number of reasons. One, I found it in the same isle as the boxed wines, which indicates to me that it's probably of the same assuredly lackluster character. Two, it's only two years old. As far as I know, wine is better if it's older. And three? It tastes and smells EXACTLY like Manischewitz. If they're willing to give that stuff to pre-teens then I'm pretty sure it's not worth drinking on the regular, so neither must this be. 

The point is, really, that you can probably use just any old wine. I'd been playing with the idea of adding some to compliment the rich, earthy flavors throughout the rest of the filling and it turns out to have been a smart bet. There's just a bit of warmth that the addition lends that I suspect would be missing without it but, hey, if you don't want to bother just use a little extra broth. 


You'll know the filling is done when most of the liquid is gone and everything is nice and tender. 

BUT DON'T WASTE TIME JUST WATCHING IT BOIL. MAKE YOUR MASHED POTATOES. 

Pop a large pot of cold water onto the stove and set it to high. Simultaneously, wash and chop your potatoes into even cubes, chucking them into the pot as they accumulate. I don't remove the skins and I don't really wait for the water to boil before I throw them in, I just kind of let them get there eventually. Once all the potatoes are in, put in your five whole cloves of peeled garlic and let them boil with the potatoes. Trust me on this. They'll get nice and soft and mash right in nicely later on. 


Once the potatoes are soft and easily squeezed by a pair of tongs or slide right off a fork or whatever method you use to determine the mashability of a potato, remove them from the heat, drain them, and mash them together with the butter, sour cream, chives, salt, and pepper. Mash them to whatever consistency is your favorite, mine being mostly smooth with just a little bit of chunk for character. 

You are encouraged to make the peas before the potatoes are done boiling, but it's cool if you don't. It takes less than five minutes to throw some frozen peas into a pan, chop some mint leaves real fine and throw them in with the peas and a bit of salt over medium heat. The goal is really only to defrost and warm them, since they honestly don't need to be cooked much at all. 

Now it's time to go back to the dough! 


Preheat your oven to 360°F right now. 

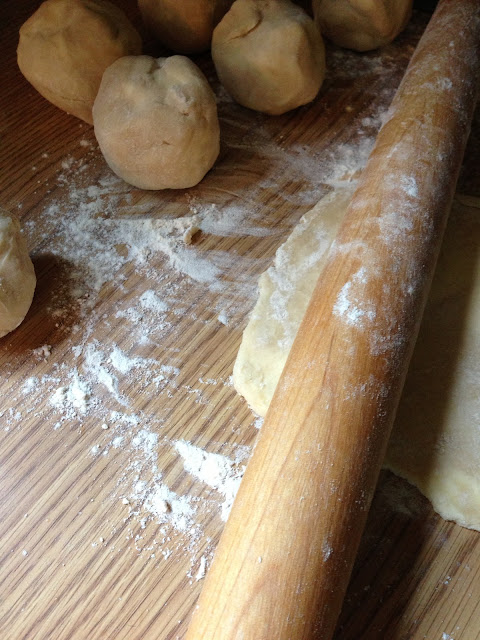
Separate your dough into at least eight balls (though I would actually recommend aiming for 12) and roll them out into your desired shape on a very floured board. 


Try not to make it too thin so it'll still support the weight of the filling. 

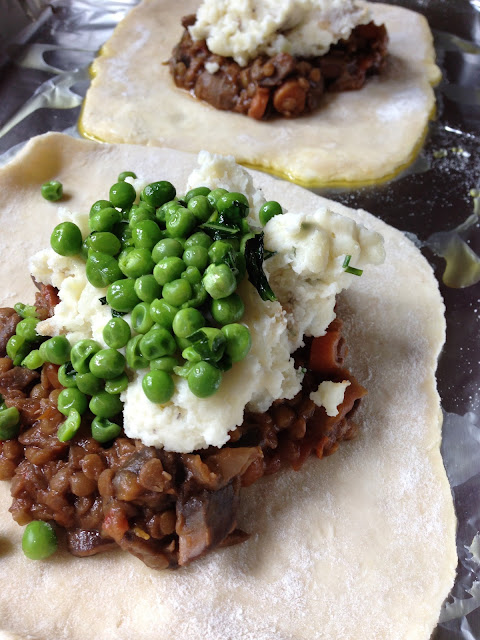
Get a sheet pan, coat it with a bit of oil, and lay down your bottom crust. I also lined mine with aluminum foil because laaaaazy. Cleaning things is stupid. 


Top with the fillings in whichever order and amount you prefer. 


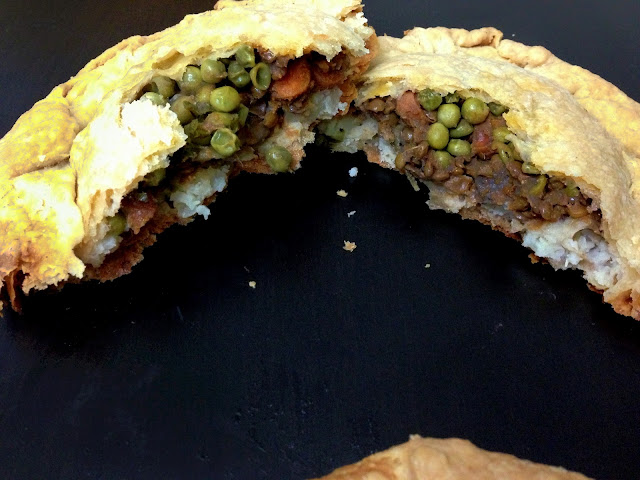
Take a second crust and lay it over the toppings, ensuring that it is at least big enough to be reunited with the bottom layer. You can either fold the two pie crust layers together around the circle, or seal them together by pressingly firmly with a fork all the way around the edges until you are certain they are sealed. 

I went for the folding method. 


Make sure to cut steam vents in the top, and then bake them in the oven for 1 1/3 hours at 360°F, or until the crust is firm and just barely golden. 


Pack one of these bad boys in your lunch and you'll be full for the rest of the week!


Just try not to think about quite how much butter was used per pie, is all. 
<3 Kat. 


Tuesday, August 6, 2013

Chai is the spice of life, and cobbler!


Straight up, I jacked this recipe from Linny. Well, the base of it anyway. One time she chopped up apples and threw them in a pot with some instant chai mix we had lying around and cooked them down until they were soft and brilliant and obviously delicious. Fancy apple pie without having to make a crust? Yes, please!

Whoda thunk there was any way to make it taste better?

CHAI CHAMP!!!!

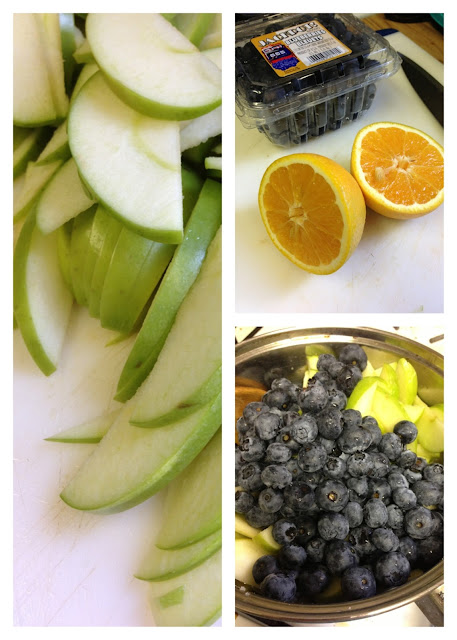
4-5 peeled, tart apples
One pint blueberries
Juice from one orange
1/2 cup sugar
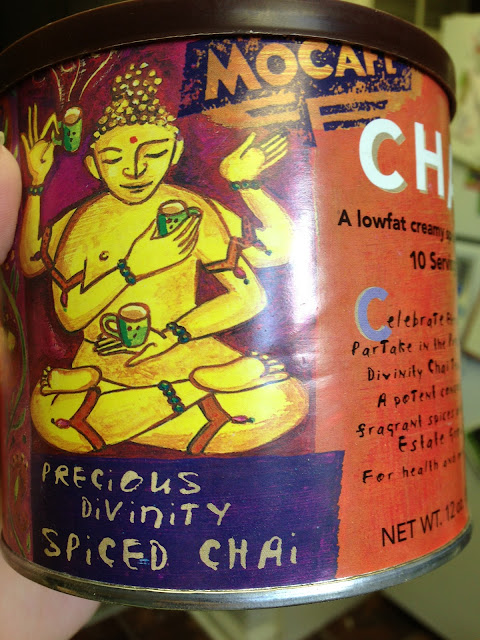
2 TB instant chai mix
1-2 cups old fashioned oats


So you're about to experience a little bit of a "do as I say, not as I do" recipe in that the pictures to follow will definitely LOOK like they have unpeeled apples featured in them but... You're hallucinating. You should really get that checked out. 

STEP ONE!!!


Chop up your tooooootally peeled apples and put them on the stove over medium heat with the orange juice, blueberries, and sugar. Once the blueberries start to pop and there's a little more room in the pot, add your chai mix!


Here's the kind I used! I have no idea where it came from! Probably fairies!!!

Cook the whole thing down until the apples are soft and just barely holding their shit together. And definitely not at all covered in peels. 


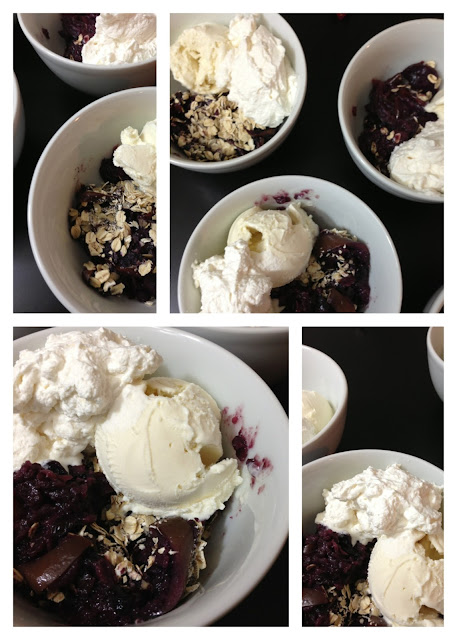
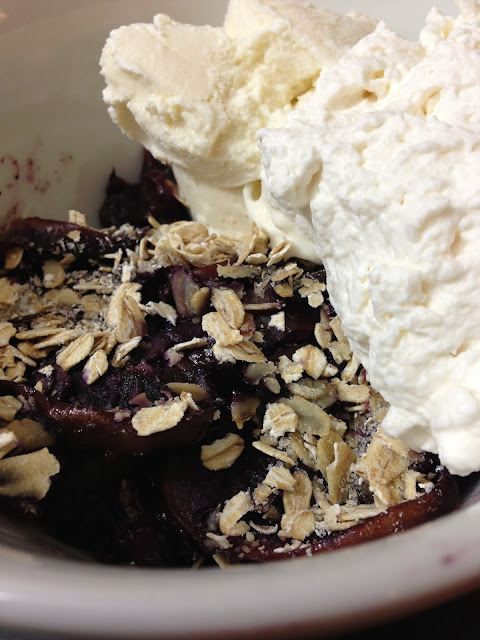
Add some oats to the pot to soak up some of the juice! Only like a tablespoon or so. Then put all them tasty fruits into a baking dish and top 'em with some more oats and a sprinkling of sugar. If you're feeling fancy, you can even toast the oats beforehand so they'll be extra delicious and...oaty. 

Slam that thang into the oven at 340°F for about 45 minutes or until nice and bubbly. 


Scoop it into bowls, top it with ice cream and whipped cream and shovel it down your gullet before it cools. Or heats up? Melts? Look guys, the technicalities aren't important as long as the end result is the same. 


Tummy full of yummy all the way. 
<3 Kat. 


Tuesday, July 23, 2013

Saladtations and greetings!


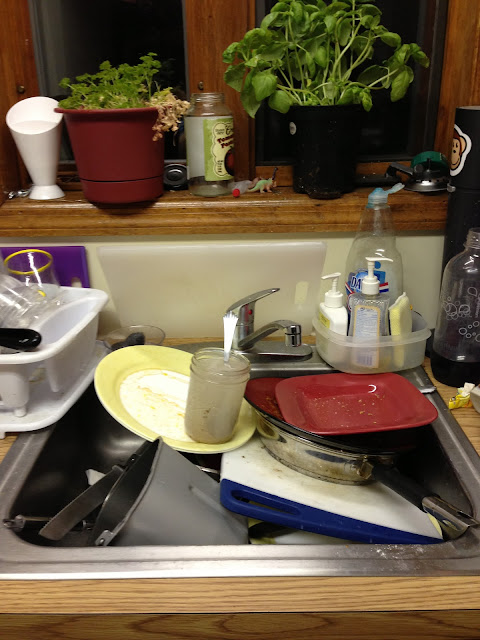
It's friggin midnight, I just got home from a tiring shift at my day job, and I walked into my kitchen to find this:


EFF IT. IM MAKING SALAD. 

You might not think there's anything special about making a salad, but...well.... There is. So hush. Besides, everyone needs a good quick meal for nights when their sink is a total wreck, and salads are a fast food you can actually feel good about. 

Here's what you'll need to fill your face with damned near no effort whatsoever:


Dressing:

Some honey (or agave syrup)
Any type of mustard you have
Raspberry balsamic vinaigrette (or the non-raspberry type. Whatever.)
Olive oil

Salad:

Spinach
Strawberries
Any other berries
Almonds

This is another one of those terrible "put it in a pot and cook it until it's food" recipes. Except there's no cooking involved, there's just the scattered rumblings of a madwoman who may or may not have burned all her measuring cups in a sacrificial ritual to The Great Googlie Mooglie. 


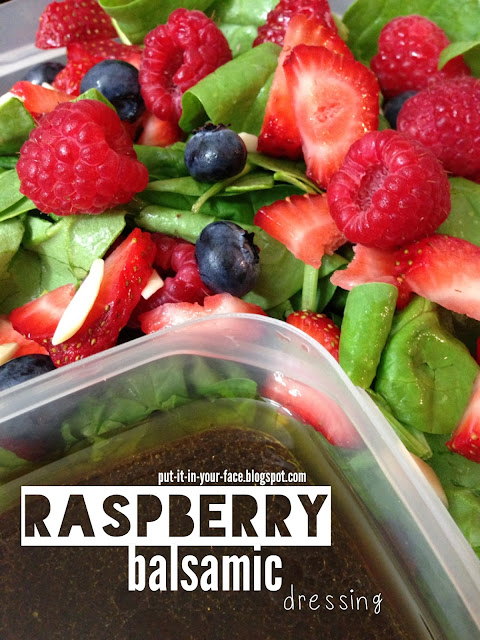
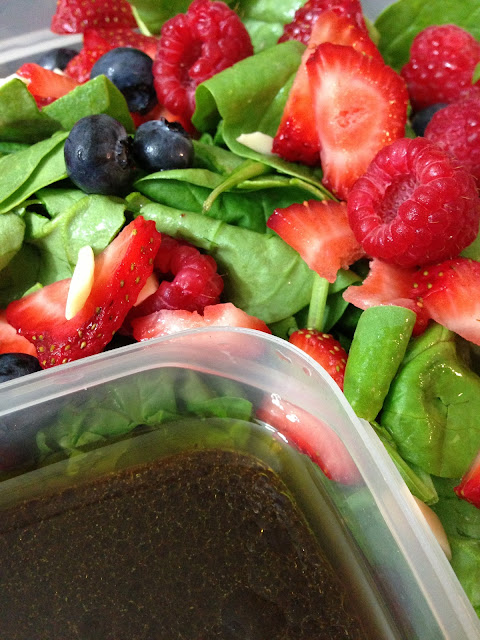
There are some photos of the progression of the dressing inside of an 8oz jelly jar. If pressed, I'd say I used roughly 3TB honey, 1TB mustard, 1/4c. Balsamic, and another 1/4-ish cup of oil. Maybe less. You pretty much just stir it up with a fork and keep tasting it until you think it's good and can imagine yourself eating a couple tablespoons of it over some spinach. 


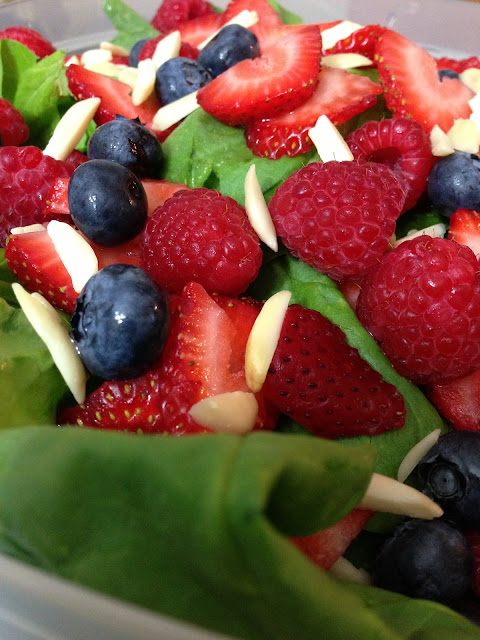
Then you kind of just pile some berries and almonds on top of some spinach, cover it in dressing and call it fuckin' dinner. Or lunch. Or whatever. 


Down the hatch. 
<3 Kat. 

Tuesday, July 16, 2013

Picnic perfect


You ever feel like sometimes you may be spending a little too much time inside hissing at the sun and hiding in the sweet sweet luxury of air conditioning? Aside from the excellent driver's tan I seem to have acquired this year, my complexion indicates I may need to get the hell out of the house soon. 

Eff it, y'all, let's have a picnic. 

I don't care how hot and sweaty and humid and full-of-children it is, picnics are the shit. Almost every Sunday during the summer my family and I would go to a local park and enjoy a free concert while dining on either subs, sanwiches, or things shoved between two slices of bread. With all that fabulous variety, it's no wonder that I've taken picnicking to a whole different level in my adult life. I mean...drink flavored desserts?!?! What is this madness?!?! That kind of stuff would have been completely unheard of to my ten year-old self. 


Here's what you're gonna need to blow your pb&j picnic out of the water. 

2 c. Cookie of your choice, crushed.  (I recommend shortbread, nilla wafers, or graham crackers)
1TBsp gelatin (I'm using "natural desserts" brand vegan gelatin. It was like $2.50 on amazon.com.)
1 lb. strawberries
3 lemons, juiced and zested
2 packages very soft cream cheese (16 oz.) (or tofutti better than cream cheese for vegan-style)
1 pint Heavy cream (or use cool whip or whipped coconut cream to go vegan.)
1 1/2 c. Sugar
2 tsp vanilla extract
Couple pinches of salt
10 8oz. Jars/individual portion things (or you can just slap it into one big pan. I won't mind.)

Step one!
Roughly chop up some strawberries and throw them into a pot with a cup of sugar and the lemon juice. Stir it and cook on medium low just long enough to dissolve the sugar. If you're using normal gelatin then you don't have to worry about the heat, but if you're using vegan gelatin you're supposed to put it in cold stuff and also non-acidic stuff. I figure might as well go for one out of two. 


Once the sugar is dissolved, blend it into a fine purée. You can strain it if you'd like to make it super smooth, but I didn't because that seemed entirely too much like more dishes to clean. 

Take your heavy cream and put it in the blender with your 2tsp of vanilla. Gradually raise the speed to whip on high until they make those infamous stiff peaks. 


Put the now-whipped cream into a separate bowl if you're using a stand mixer. Hand mixers, just use a second bowl for this part. 

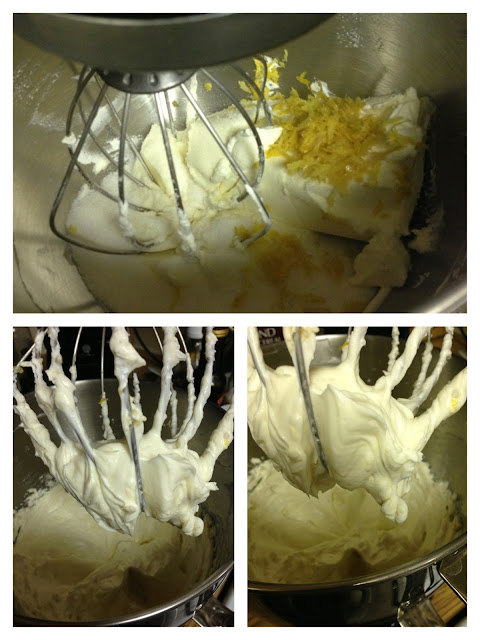
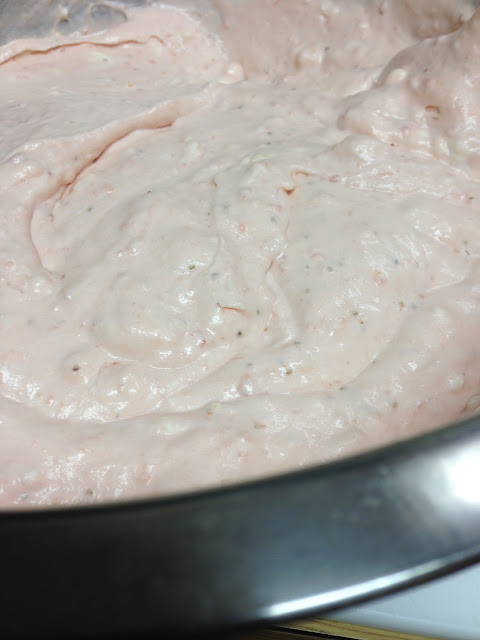
Put your softened cream cheese (mine was left on the counter for most of the day.), lemon zest, remaining 1/2 cup of sugar, and gentle pinches of salt into the bowl. Mix 'em up good and nice until it also looks nice and fluffy like the cream. 


At this point, I put the vegan gelatin into the strawberry puree since the instructions said to use it as quickly as possible. The whole package was about 1TBsp and did the trick just fine, should you be in the market for some. 


I suspect that this would have been even easier if, at this point, I had taken the strawberry stuff and mixed it into the cream cheese while it was still in the kitchen aid. I recommend doing it that way rather than what I did, which was fold together the two fluffed creamy whatsits and THEN gently stir in the strawberry. 


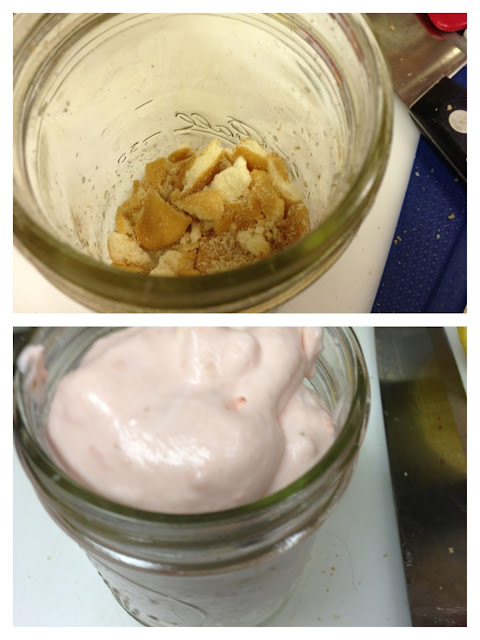
Then it really just came down to assembly, honestly. Throw some crushed cookies into your jars, and follow it up with some strawberry lemonade fluff. Repeat until out of fluff. 


I let mine set in the fridge overnight and they got a slightly less airy texture (which I was hoping would happen), although it still very much feels like you're eating a strawberry lemonade fluff puff magruff the crime dog. Or something like that. 

If you want it to really FEEL like you're eating something truly sinful, only make half the whipped cream. Otherwise you're going to trick yourself into thinking that this sweet and tart delicacy has no calories at all because it doesn't nearly have the kind of weight to it that a baked cheesecake does. 


Gosh if it ain't good, though. 

Oh but those summer nights. 
<3 Kat. 

Wednesday, June 26, 2013

Let's spice things up a little.

Sometimes you just get into a funk where the weather is crappy and your bills are past due and you're bummed that you still haven't gotten that unicorn that Santa Claus promised you two years ago.  Santa, you jolly fat man...you're lucky you're so gorram likeable or I'd be knocking down your door to claim the prize I've cleeearly earned for being a good girl all year. 

Anyway, that's to say that sometimes you're just not feeling up to making something complicated for dinner, okay? Maybe you'd rather just have something fresh and easy and inexpensive and basically the world's most unanimously voted delicious food, like tacos. 

Oh hell yeah, tacos. Tacos will fix up whatever ails you-especially if they're topped with some fresh and easy pico de gallo. Now we're in business, baby!


Pico de uppo dese ingredients. 

2lbs fresh tomatoes, diced fine (roughly 3 cups)
1 small sweet Vidalia onion (or half a large one)
1 or 2 jalapeño peppers depending on love of a spicyness. Seeded and very finely diced. 
4 cloves garlic...also diced. Finely. (What a surprise)
3-5 FRESH limes, juiced
1/4 teaspoon apple cider vinegar
1/4 cup fresh chopped cilantro (roughly a handful, really.)
Plenty of salt to taste. 


Now as you might suspect, this is not one of those rocket surgery-type recipes. It's pretty much "CHOP ALL THE THINGS!!! JUICE SOME LIMES!!! TACO TIME!!!" And really, sometimes that's just the speed you need. 

So first thing's first...dice up your tomatoes. Whatever kind you Just happen to have. I've used plum, on the vine, cherry, beefsteak...whatever you've got. This particular time I only had grape tomatoes on hand and I've got to say...while it was tedious, it did end up having an unexpected amount of sweetness that balanced well with all the acid in the mix. 


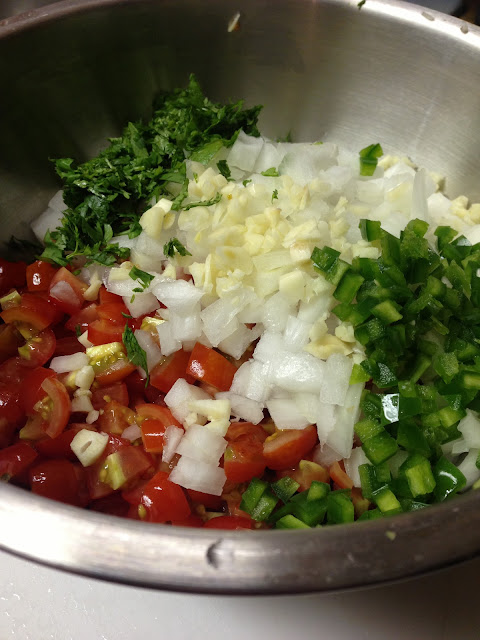
Once you've got those tomatoes diced, go to town on the onion, garlic, cilantro, and jalapeño. For the love of all that is holy, make SURE to do the jalapeño AFTER the onion. You're going to hate your life if you start crying and go to wipe your tears away with spicy fingers!

And by the way, the sweet/Vidalia onion really is the only one for the job. Don't try to swap it out with some shitty yellow onion or I'll get my future unicorn to take a dump on your lawn in retribution. 


As much as I want to be sarcastic about this not actually being a lot of work, it truly is quite a lot of chopping.  Depending on if you chop at my speed or at the speed the hunky dreamy goes...you may very well end up still at it well into the morning. At least you're getting in plenty of practice, though!

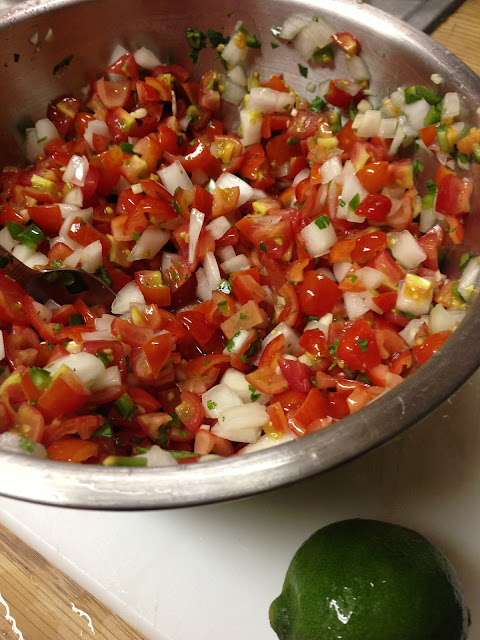
That being said, here come the final touches! Sprinkle on a lot of salt. I'm talking more than you think you need (like start with a full teaspoon and don't be surprised if you work your way up close to a tablespoon by the the time it tastes right.)

Juice three limes and put it in the bowl. Add just the barest splash of that apple cider vinegar. 

Mix that shit together. 


Taste it. Does it need anything? Yes? More lime? More salt? More vinegar? It's really all about your personal taste preferences, and the quality/individual flavors of the ingredients. Especially the tomatoes. 

Once you're done, slap that sauce on top of a taco!


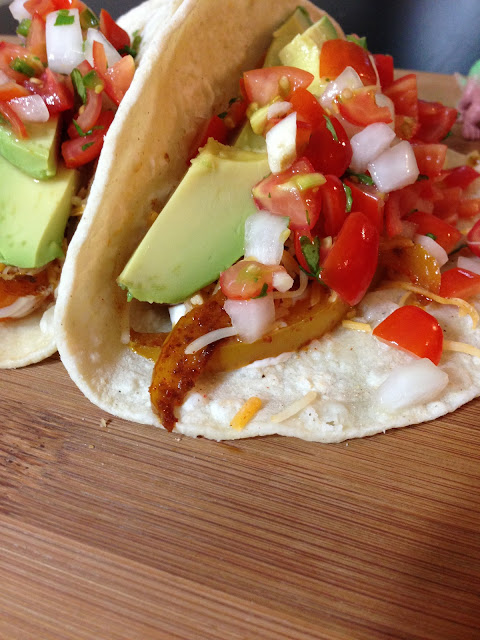
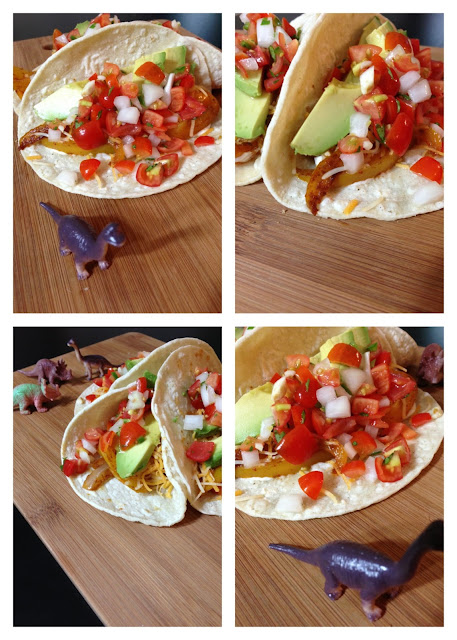
And yes, I realize that sauce was the wrong word to use just now. And YES, I realize that this photo is technically of a veggie fajita rather than a veggie taco but you know what? Shove it. Shove it right into your smarty pants little face. It bet you won't even care if I call it grilled Godzilla beans after you taste it. 


And by the way? Save the leftovers. The day afterwards the acid invades the tomatoes even more and it tastes even better. Especially on an early-morning egg burrito. 

Stay classy, San Diego. 
<3 Kat. 

Tuesday, May 28, 2013

Tortilla soup!

The first time the Hunky Dreamy and I made tortilla soup, it was pretty much because we were tired, poor, and really super hungry. I'm pretty sure our decision was also swayed by the likely fact that we had a bell pepper at the end of its usefulness as we both hate bell peppers but keep buying them with the hopes that we'll eventually find them useful. 

Now we buy peppers regularly and only sometimes let them go bad. 

Probably my favorite feature of this soup is that even if you have literally not a single ingredient of this soup, it'll max out somewhere around $15, and it will feed you and your loved ones FOR DAYS. That's just my kind of recipe. 

Tortilla soup stuff!

Large onion
Large bell pepper (or equivalent)
4 cloves garlic
2 jalapeños (optional.)
12oz. Diced green chiles
32oz. Crushed tomatoes
32oz. Broth
1c. Corn kernels
2tsp. Ground cumin
1tsp. Chili powder
1/2tsp. Salt
1tsp. Black pepper
Thyme and oregano (dried is fine!)
1c. Water


Optional toppings for finished soup:
Crushed tortilla chips
Shredded cheese
Diced avocado
Sour cream
Scallions
Luchadomo


Chop up all your vegetables. CHOP THE JALAPEÑO LAST. ESPECIALLY AFTER THE ONION. If you ignore this advice, I promise you that you will regret it and NEVER EVER EVER EVER EVER forget the lesson you learn for the rest of your entire life. 

Grab a very large pot and coat the bottom of it with a generous amount of olive oil. Let it heat up on medium heat before chucking all your diced veggies in the pot. 


Throw in the cumin, chili powder, salt and pepper, thyme, and oregano while the vegetables are cooking down. Once they're all soft and easy to break apart with a spoon by just pushing on them, throw in your diced chiles, crushed tomatoes, broth, and water. 


Cover the pot at let it come to a boil. Once it does, add the corn and then continue to let simmer until the corn is nice and cooked. 


You're done! No blending, no straining some shit out or using an extra 400 bowls or crazy ingredients you've never heard of before. Just some cheap vegetables, one pot, and about 25 minutes. 


Most of the best part of tortilla soup is the toppings, and the only one I'd really push to say is mandatory is the crushed tortilla chips. Is the? Are the? Look, nobody's paying me to be the super most grammariest in all the land, so i'm just gonna go ahead and let you decide to overlook that. 

Anyway, avocado is really good in it, too. And cheese and sour cream if you roll that way. (I usually do.)

Enjoy, and May the Luchadomo always smile upon your soups. 
<3Kat. 


Sunday, May 12, 2013

Cherry limeade could bring world peace.


Cherry limeade is freakin awesome. 

In fact, cherry limeade is the reason this blog exists. Honestly. The first time Linny and I ever met, she said "hey, you want some cherry limeade?" To which I said "YES!" And we've been bestest friends and culinary geniuses ever since. 

Of course, the limeade she gave me was a powdered drink mix. This is precisely eight hundred billion zillion gillion times better and almost as easy to make, so you may want to consider treating yoself to a large glass of it during your mandatory BBQ this weekend. 

Here's what you're gonna need to get sippin on some awesome. 

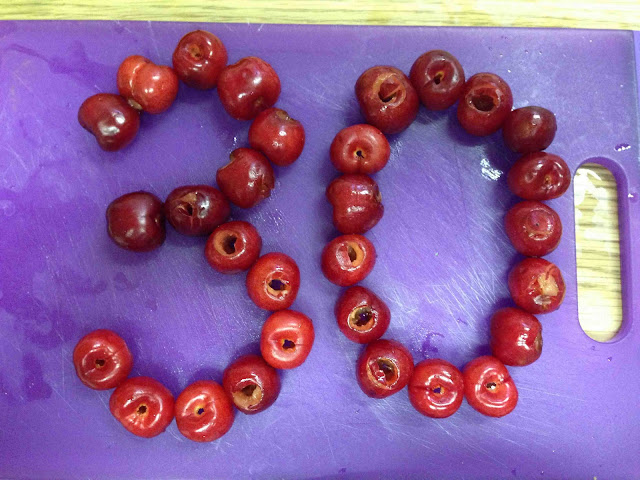
30 cherries
7 limes
1 c. Sugar
1 c. Water
A lot of ice (or alot of ice for those hyperbole and a half fans out there.)

You will also need some sort of blending machine, and a medium-sized pot.


First thing's first...if your cherries have pits in 'em, get 'em out of there!


Roughly chop the cherries, and then put them in a medium-sized pot on the stove at medium-style heat. Throw in your sugar and water as well and let them boil together until the cherries are super soft. Of course, you're going to want to stir the pot because it seems like a sensible thing to do so, by all means...do. 
While that's happening, juice your limes in whatever fashion pleases you and set the juice aside. 

Protip: yelling at your limes to juice themselves does not appear to be an effective method. I will update you as the story develops, should they spontaneously evolve to more willingly accept my commands. 


Blend down the cherry stuff once the cherries are nice and soft and it's all started to foam a bit and the whole thing has really gone a lovely pinkish purple. 

Stir in the lime juice and cook on low heat for just a little bit to really persuade the cherries to accept their new lime overlords. 

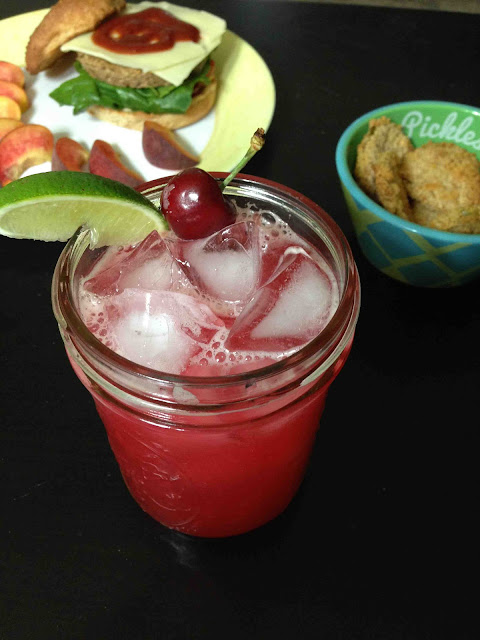
To serve, fill a glass with ice and pour the cherry limeade concentrate over it while still slightly warm, causing the ice to melt in exactly the right way to water it down perfectly. Or, I guess, you could just add water until you think it tastes good and serve it over a regular amount of ice. Either way, this batch is going to make roughly 4 servings of cherry limeade. Enjoy them!


Party on Garth.
<3 Kat.