Tuesday, July 23, 2013

Saladtations and greetings!


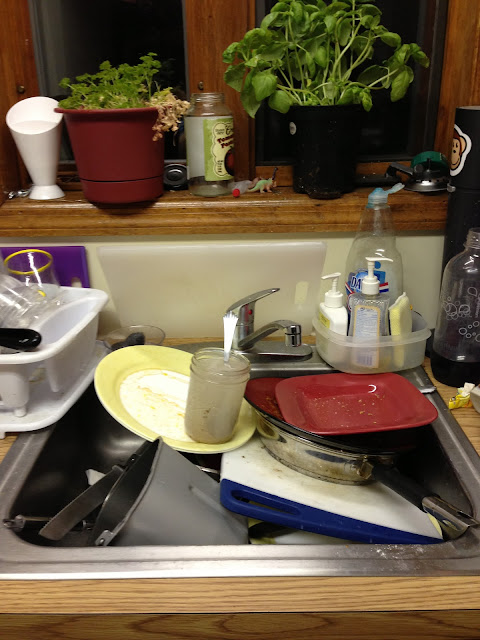
It's friggin midnight, I just got home from a tiring shift at my day job, and I walked into my kitchen to find this:


EFF IT. IM MAKING SALAD. 

You might not think there's anything special about making a salad, but...well.... There is. So hush. Besides, everyone needs a good quick meal for nights when their sink is a total wreck, and salads are a fast food you can actually feel good about. 

Here's what you'll need to fill your face with damned near no effort whatsoever:


Dressing:

Some honey (or agave syrup)
Any type of mustard you have
Raspberry balsamic vinaigrette (or the non-raspberry type. Whatever.)
Olive oil

Salad:

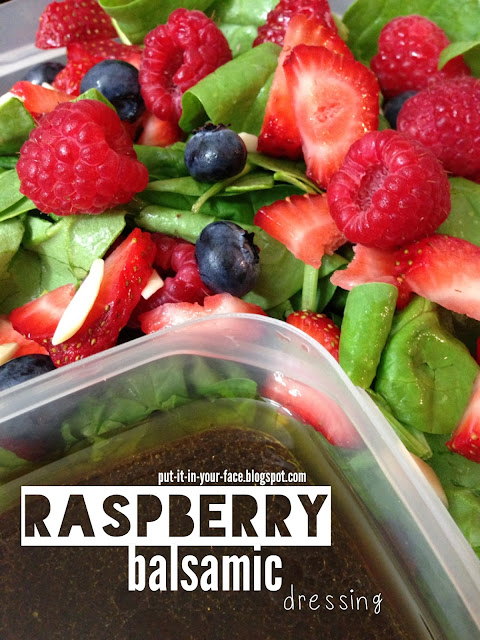
Spinach
Strawberries
Any other berries
Almonds

This is another one of those terrible "put it in a pot and cook it until it's food" recipes. Except there's no cooking involved, there's just the scattered rumblings of a madwoman who may or may not have burned all her measuring cups in a sacrificial ritual to The Great Googlie Mooglie. 


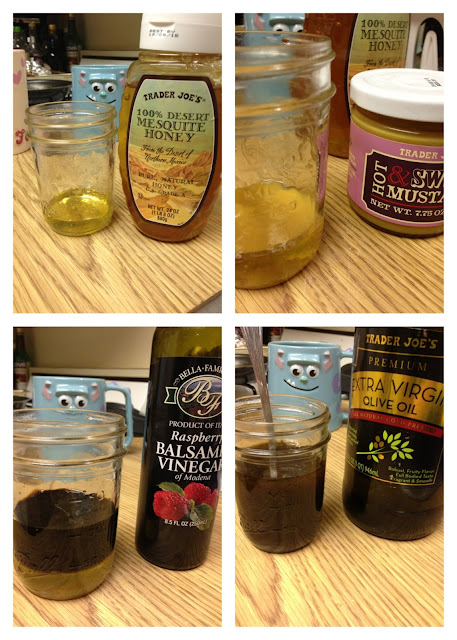
There are some photos of the progression of the dressing inside of an 8oz jelly jar. If pressed, I'd say I used roughly 3TB honey, 1TB mustard, 1/4c. Balsamic, and another 1/4-ish cup of oil. Maybe less. You pretty much just stir it up with a fork and keep tasting it until you think it's good and can imagine yourself eating a couple tablespoons of it over some spinach. 


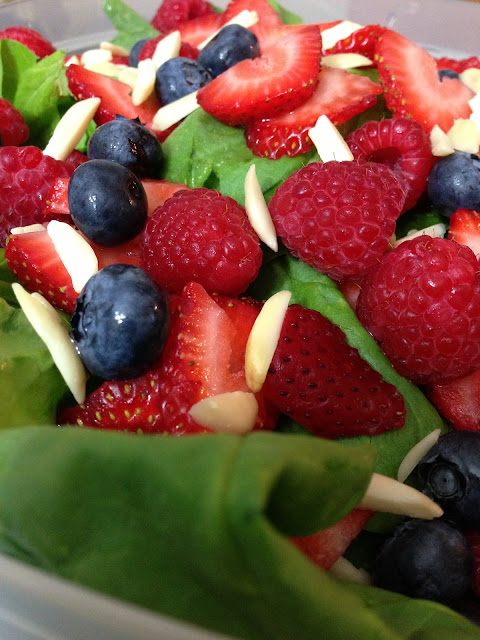
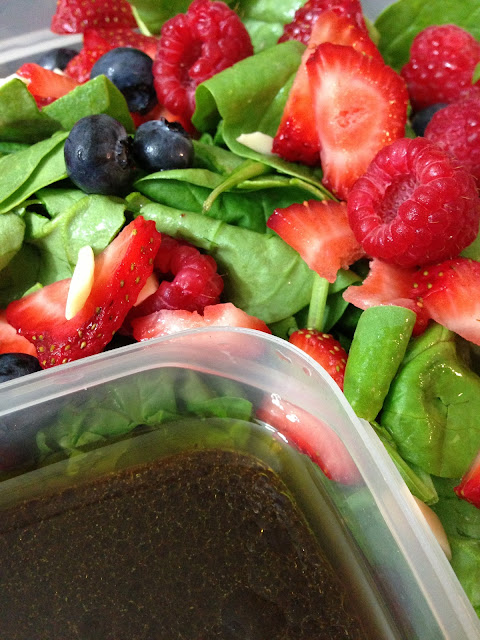
Then you kind of just pile some berries and almonds on top of some spinach, cover it in dressing and call it fuckin' dinner. Or lunch. Or whatever. 


Down the hatch. 
<3 Kat. 


Tuesday, July 16, 2013

Picnic perfect


You ever feel like sometimes you may be spending a little too much time inside hissing at the sun and hiding in the sweet sweet luxury of air conditioning? Aside from the excellent driver's tan I seem to have acquired this year, my complexion indicates I may need to get the hell out of the house soon. 

Eff it, y'all, let's have a picnic. 

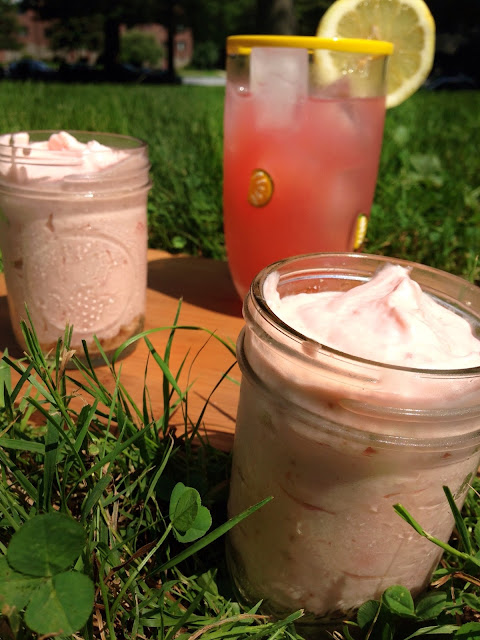
I don't care how hot and sweaty and humid and full-of-children it is, picnics are the shit. Almost every Sunday during the summer my family and I would go to a local park and enjoy a free concert while dining on either subs, sanwiches, or things shoved between two slices of bread. With all that fabulous variety, it's no wonder that I've taken picnicking to a whole different level in my adult life. I mean...drink flavored desserts?!?! What is this madness?!?! That kind of stuff would have been completely unheard of to my ten year-old self. 


Here's what you're gonna need to blow your pb&j picnic out of the water. 

2 c. Cookie of your choice, crushed.  (I recommend shortbread, nilla wafers, or graham crackers)
1TBsp gelatin (I'm using "natural desserts" brand vegan gelatin. It was like $2.50 on amazon.com.)
1 lb. strawberries
3 lemons, juiced and zested
2 packages very soft cream cheese (16 oz.) (or tofutti better than cream cheese for vegan-style)
1 pint Heavy cream (or use cool whip or whipped coconut cream to go vegan.)
1 1/2 c. Sugar
2 tsp vanilla extract
Couple pinches of salt
10 8oz. Jars/individual portion things (or you can just slap it into one big pan. I won't mind.)

Step one!
Roughly chop up some strawberries and throw them into a pot with a cup of sugar and the lemon juice. Stir it and cook on medium low just long enough to dissolve the sugar. If you're using normal gelatin then you don't have to worry about the heat, but if you're using vegan gelatin you're supposed to put it in cold stuff and also non-acidic stuff. I figure might as well go for one out of two. 


Once the sugar is dissolved, blend it into a fine purée. You can strain it if you'd like to make it super smooth, but I didn't because that seemed entirely too much like more dishes to clean. 

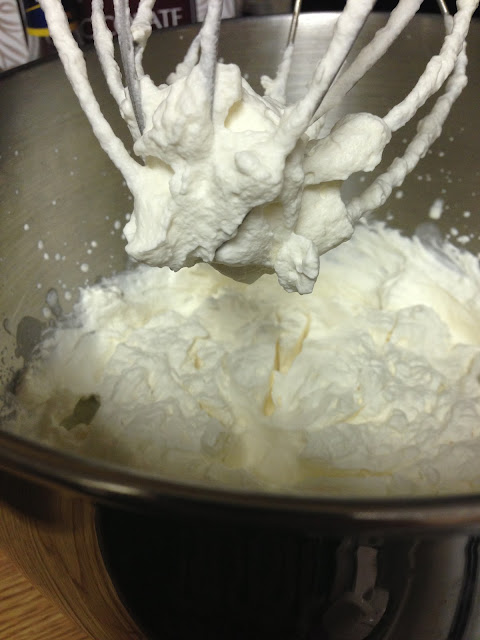
Take your heavy cream and put it in the blender with your 2tsp of vanilla. Gradually raise the speed to whip on high until they make those infamous stiff peaks. 


Put the now-whipped cream into a separate bowl if you're using a stand mixer. Hand mixers, just use a second bowl for this part. 

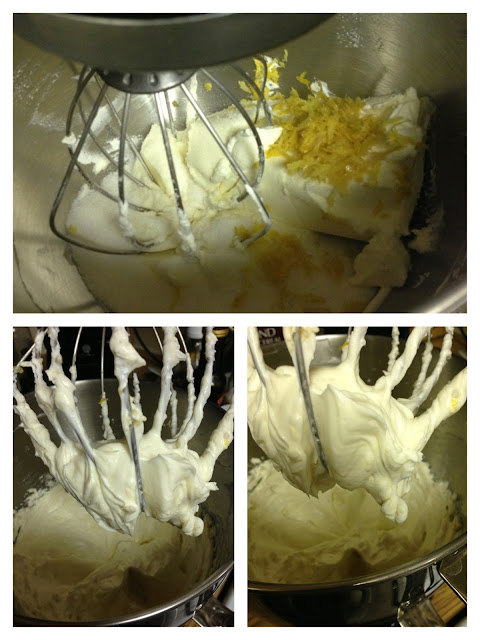
Put your softened cream cheese (mine was left on the counter for most of the day.), lemon zest, remaining 1/2 cup of sugar, and gentle pinches of salt into the bowl. Mix 'em up good and nice until it also looks nice and fluffy like the cream. 


At this point, I put the vegan gelatin into the strawberry puree since the instructions said to use it as quickly as possible. The whole package was about 1TBsp and did the trick just fine, should you be in the market for some. 


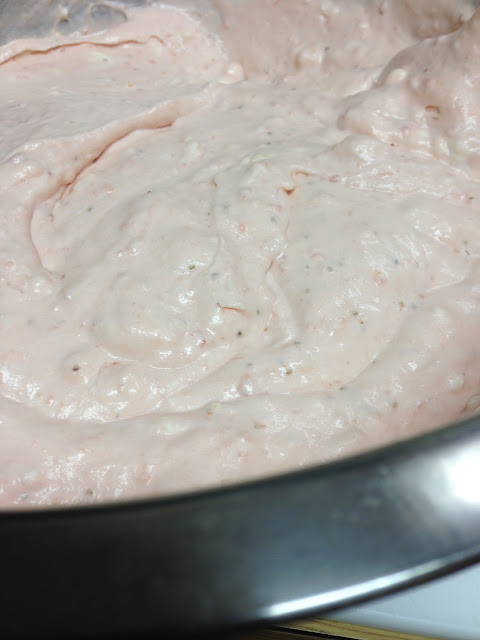
I suspect that this would have been even easier if, at this point, I had taken the strawberry stuff and mixed it into the cream cheese while it was still in the kitchen aid. I recommend doing it that way rather than what I did, which was fold together the two fluffed creamy whatsits and THEN gently stir in the strawberry. 


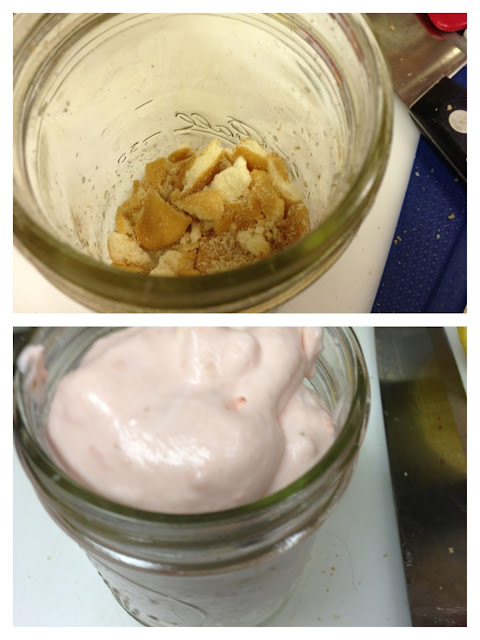
Then it really just came down to assembly, honestly. Throw some crushed cookies into your jars, and follow it up with some strawberry lemonade fluff. Repeat until out of fluff. 


I let mine set in the fridge overnight and they got a slightly less airy texture (which I was hoping would happen), although it still very much feels like you're eating a strawberry lemonade fluff puff magruff the crime dog. Or something like that. 

If you want it to really FEEL like you're eating something truly sinful, only make half the whipped cream. Otherwise you're going to trick yourself into thinking that this sweet and tart delicacy has no calories at all because it doesn't nearly have the kind of weight to it that a baked cheesecake does. 


Gosh if it ain't good, though. 

Oh but those summer nights. 
<3 Kat. 


Wednesday, June 26, 2013

Let's spice things up a little.

Sometimes you just get into a funk where the weather is crappy and your bills are past due and you're bummed that you still haven't gotten that unicorn that Santa Claus promised you two years ago.  Santa, you jolly fat man...you're lucky you're so gorram likeable or I'd be knocking down your door to claim the prize I've cleeearly earned for being a good girl all year. 

Anyway, that's to say that sometimes you're just not feeling up to making something complicated for dinner, okay? Maybe you'd rather just have something fresh and easy and inexpensive and basically the world's most unanimously voted delicious food, like tacos. 

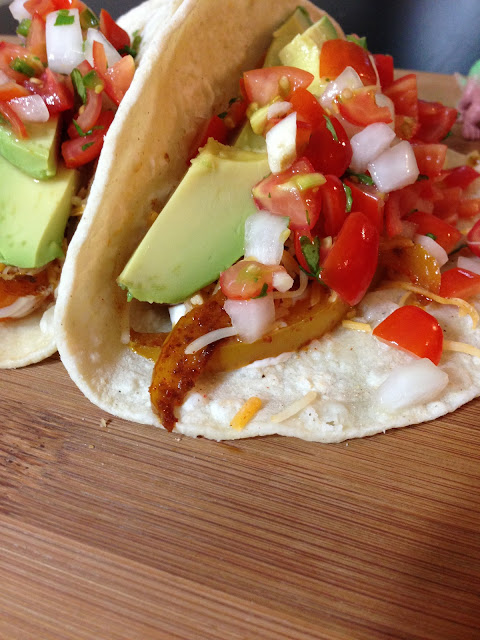
Oh hell yeah, tacos. Tacos will fix up whatever ails you-especially if they're topped with some fresh and easy pico de gallo. Now we're in business, baby!


Pico de uppo dese ingredients. 

2lbs fresh tomatoes, diced fine (roughly 3 cups)
1 small sweet Vidalia onion (or half a large one)
1 or 2 jalapeño peppers depending on love of a spicyness. Seeded and very finely diced. 
4 cloves garlic...also diced. Finely. (What a surprise)
3-5 FRESH limes, juiced
1/4 teaspoon apple cider vinegar
1/4 cup fresh chopped cilantro (roughly a handful, really.)
Plenty of salt to taste. 


Now as you might suspect, this is not one of those rocket surgery-type recipes. It's pretty much "CHOP ALL THE THINGS!!! JUICE SOME LIMES!!! TACO TIME!!!" And really, sometimes that's just the speed you need. 

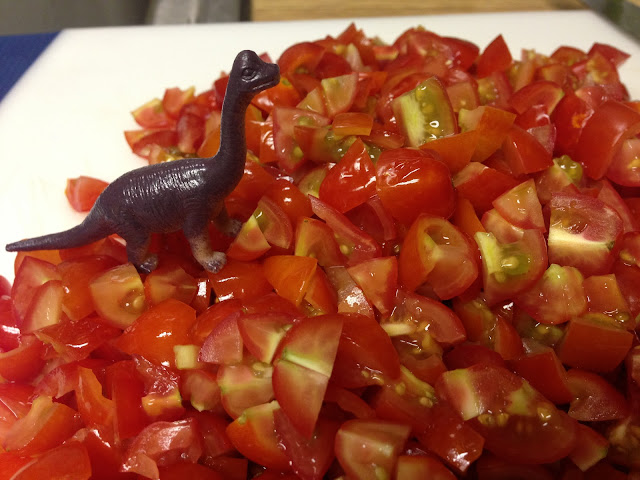
So first thing's first...dice up your tomatoes. Whatever kind you Just happen to have. I've used plum, on the vine, cherry, beefsteak...whatever you've got. This particular time I only had grape tomatoes on hand and I've got to say...while it was tedious, it did end up having an unexpected amount of sweetness that balanced well with all the acid in the mix. 


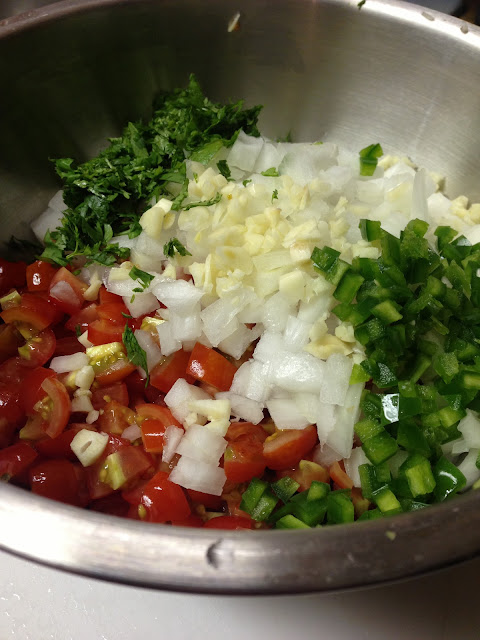
Once you've got those tomatoes diced, go to town on the onion, garlic, cilantro, and jalapeño. For the love of all that is holy, make SURE to do the jalapeño AFTER the onion. You're going to hate your life if you start crying and go to wipe your tears away with spicy fingers!

And by the way, the sweet/Vidalia onion really is the only one for the job. Don't try to swap it out with some shitty yellow onion or I'll get my future unicorn to take a dump on your lawn in retribution. 


As much as I want to be sarcastic about this not actually being a lot of work, it truly is quite a lot of chopping.  Depending on if you chop at my speed or at the speed the hunky dreamy goes...you may very well end up still at it well into the morning. At least you're getting in plenty of practice, though!

That being said, here come the final touches! Sprinkle on a lot of salt. I'm talking more than you think you need (like start with a full teaspoon and don't be surprised if you work your way up close to a tablespoon by the the time it tastes right.)

Juice three limes and put it in the bowl. Add just the barest splash of that apple cider vinegar. 

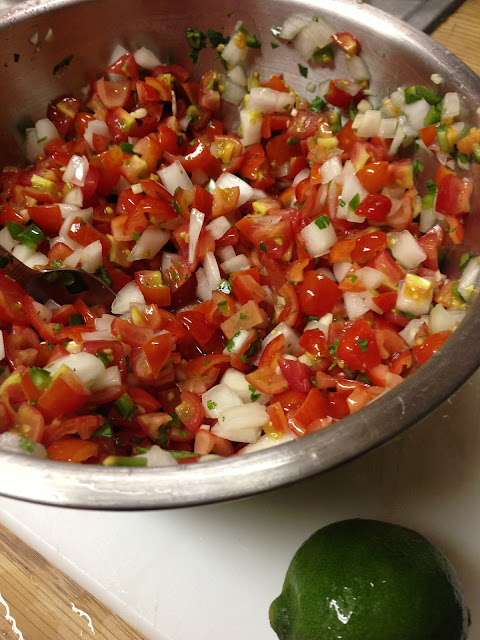
Mix that shit together. 


Taste it. Does it need anything? Yes? More lime? More salt? More vinegar? It's really all about your personal taste preferences, and the quality/individual flavors of the ingredients. Especially the tomatoes. 

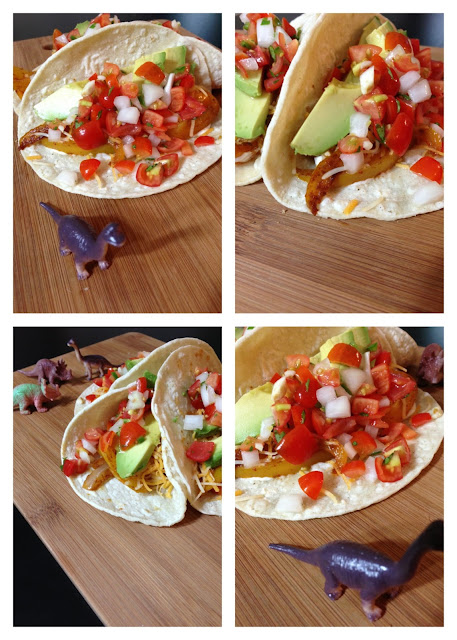
Once you're done, slap that sauce on top of a taco!


And yes, I realize that sauce was the wrong word to use just now. And YES, I realize that this photo is technically of a veggie fajita rather than a veggie taco but you know what? Shove it. Shove it right into your smarty pants little face. It bet you won't even care if I call it grilled Godzilla beans after you taste it. 


And by the way? Save the leftovers. The day afterwards the acid invades the tomatoes even more and it tastes even better. Especially on an early-morning egg burrito. 

Stay classy, San Diego. 
<3 Kat. 
Tuesday, May 28, 2013

Tortilla soup!

The first time the Hunky Dreamy and I made tortilla soup, it was pretty much because we were tired, poor, and really super hungry. I'm pretty sure our decision was also swayed by the likely fact that we had a bell pepper at the end of its usefulness as we both hate bell peppers but keep buying them with the hopes that we'll eventually find them useful. 

Now we buy peppers regularly and only sometimes let them go bad. 

Probably my favorite feature of this soup is that even if you have literally not a single ingredient of this soup, it'll max out somewhere around $15, and it will feed you and your loved ones FOR DAYS. That's just my kind of recipe. 

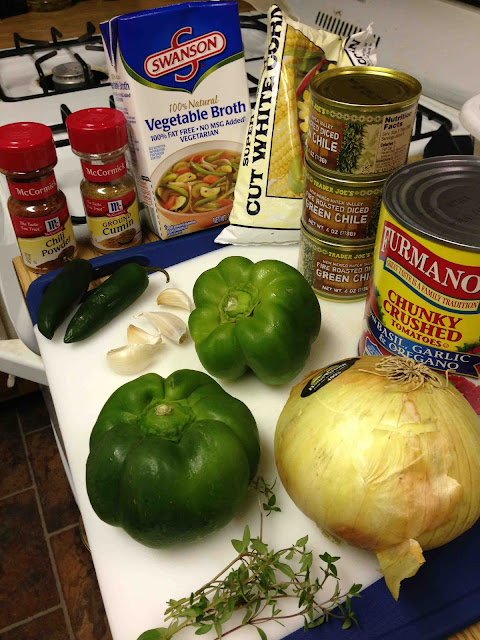
Tortilla soup stuff!

Large onion
Large bell pepper (or equivalent)
4 cloves garlic
2 jalapeños (optional.)
12oz. Diced green chiles
32oz. Crushed tomatoes
32oz. Broth
1c. Corn kernels
2tsp. Ground cumin
1tsp. Chili powder
1/2tsp. Salt
1tsp. Black pepper
Thyme and oregano (dried is fine!)
1c. Water


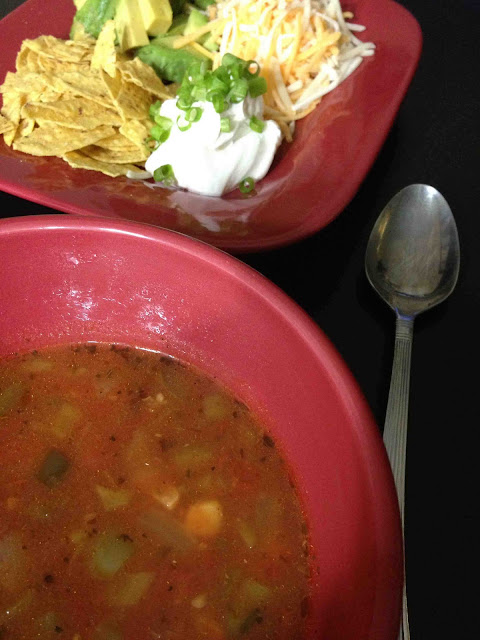
Optional toppings for finished soup:
Crushed tortilla chips
Shredded cheese
Diced avocado
Sour cream
Scallions
Luchadomo


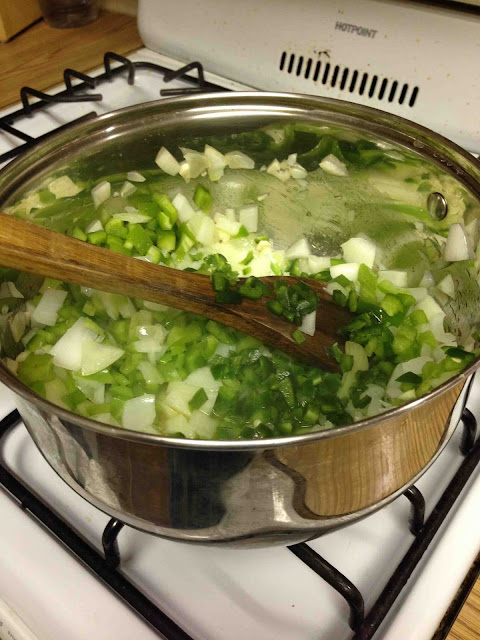
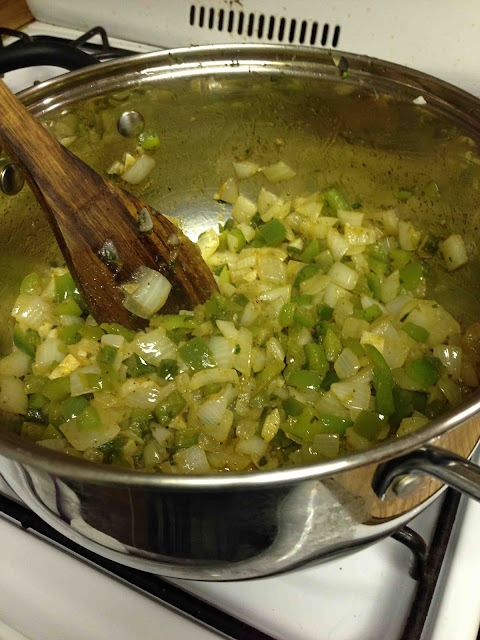
Chop up all your vegetables. CHOP THE JALAPEÑO LAST. ESPECIALLY AFTER THE ONION. If you ignore this advice, I promise you that you will regret it and NEVER EVER EVER EVER EVER forget the lesson you learn for the rest of your entire life. 

Grab a very large pot and coat the bottom of it with a generous amount of olive oil. Let it heat up on medium heat before chucking all your diced veggies in the pot. 


Throw in the cumin, chili powder, salt and pepper, thyme, and oregano while the vegetables are cooking down. Once they're all soft and easy to break apart with a spoon by just pushing on them, throw in your diced chiles, crushed tomatoes, broth, and water. 


Cover the pot at let it come to a boil. Once it does, add the corn and then continue to let simmer until the corn is nice and cooked. 


You're done! No blending, no straining some shit out or using an extra 400 bowls or crazy ingredients you've never heard of before. Just some cheap vegetables, one pot, and about 25 minutes. 


Most of the best part of tortilla soup is the toppings, and the only one I'd really push to say is mandatory is the crushed tortilla chips. Is the? Are the? Look, nobody's paying me to be the super most grammariest in all the land, so i'm just gonna go ahead and let you decide to overlook that. 

Anyway, avocado is really good in it, too. And cheese and sour cream if you roll that way. (I usually do.)

Enjoy, and May the Luchadomo always smile upon your soups. 
<3Kat. 


Sunday, May 12, 2013

Cherry limeade could bring world peace.


Cherry limeade is freakin awesome. 

In fact, cherry limeade is the reason this blog exists. Honestly. The first time Linny and I ever met, she said "hey, you want some cherry limeade?" To which I said "YES!" And we've been bestest friends and culinary geniuses ever since. 

Of course, the limeade she gave me was a powdered drink mix. This is precisely eight hundred billion zillion gillion times better and almost as easy to make, so you may want to consider treating yoself to a large glass of it during your mandatory BBQ this weekend. 

Here's what you're gonna need to get sippin on some awesome. 

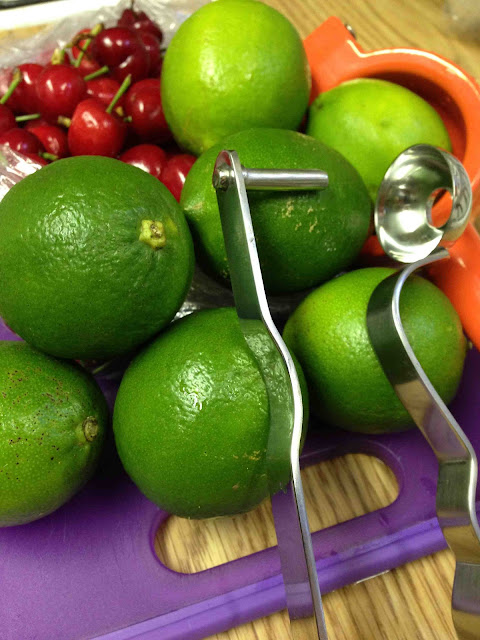
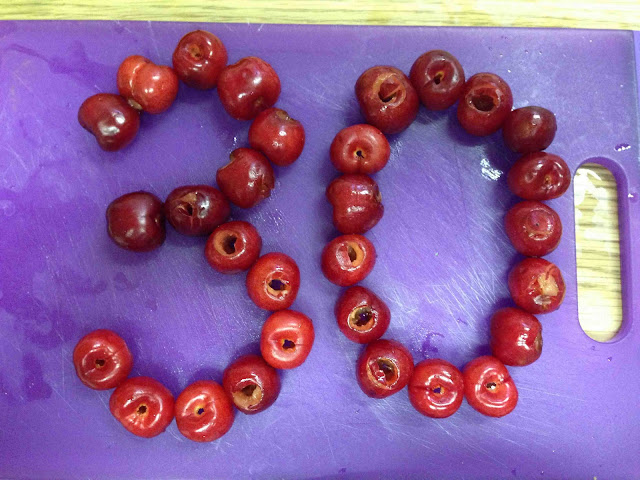
30 cherries
7 limes
1 c. Sugar
1 c. Water
A lot of ice (or alot of ice for those hyperbole and a half fans out there.)

You will also need some sort of blending machine, and a medium-sized pot.


First thing's first...if your cherries have pits in 'em, get 'em out of there!


Roughly chop the cherries, and then put them in a medium-sized pot on the stove at medium-style heat. Throw in your sugar and water as well and let them boil together until the cherries are super soft. Of course, you're going to want to stir the pot because it seems like a sensible thing to do so, by all means...do. 

While that's happening, juice your limes in whatever fashion pleases you and set the juice aside. 

Protip: yelling at your limes to juice themselves does not appear to be an effective method. I will update you as the story develops, should they spontaneously evolve to more willingly accept my commands. 


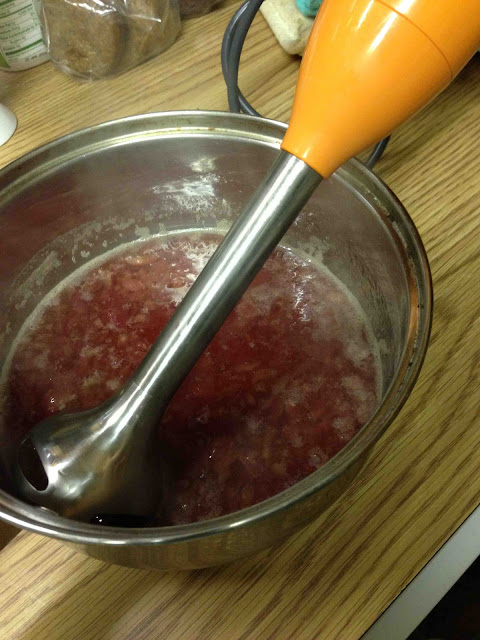
Blend down the cherry stuff once the cherries are nice and soft and it's all started to foam a bit and the whole thing has really gone a lovely pinkish purple. 

Stir in the lime juice and cook on low heat for just a little bit to really persuade the cherries to accept their new lime overlords. 

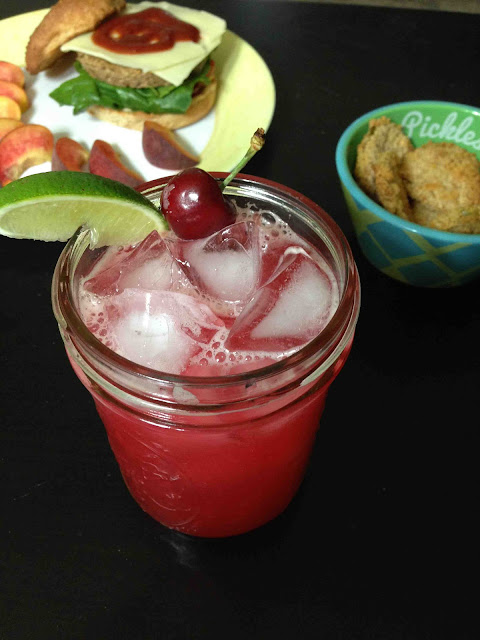
To serve, fill a glass with ice and pour the cherry limeade concentrate over it while still slightly warm, causing the ice to melt in exactly the right way to water it down perfectly. Or, I guess, you could just add water until you think it tastes good and serve it over a regular amount of ice. Either way, this batch is going to make roughly 4 servings of cherry limeade. Enjoy them!


Party on Garth.
<3 Kat. 


Tuesday, May 7, 2013

That dip is dillicious!

Remember that mayo we made yesterday? Remember how I said it was essential? Yeah-it's an essential part of making this unbelievably delicious buttermilk...dill...sauce...thing. 

Look, I didn't have enough time to come up with a good name for it while I was shoving it in my face, okay? And trust me, you aren't going to much care once you've done the same, either. 

That awesome dill stuff

1 cup mayo
1/4 cup buttermilk
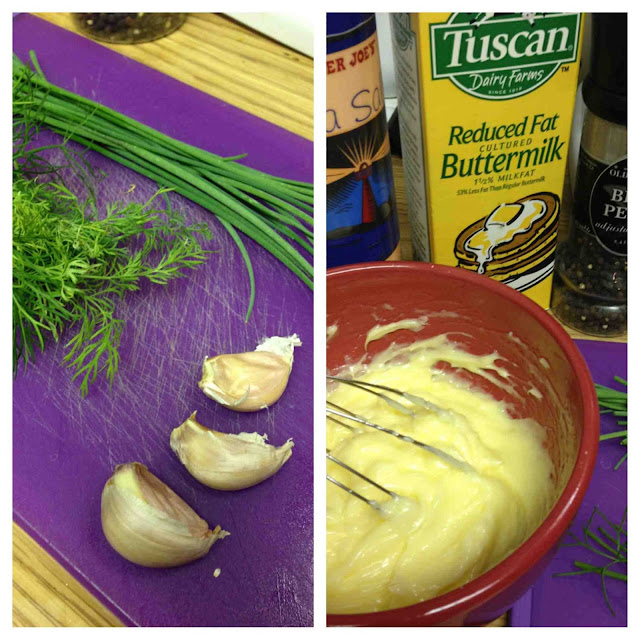
A good handful of fresh dill
A good handful of fresh chives
Fresh black pepper
Ground sea salt
2 or 3 cloves garlic (I recommend 2. 3 is pretty much my limit with this recipe since it's so powerful and you lose a bit of the dill if you use too much.)


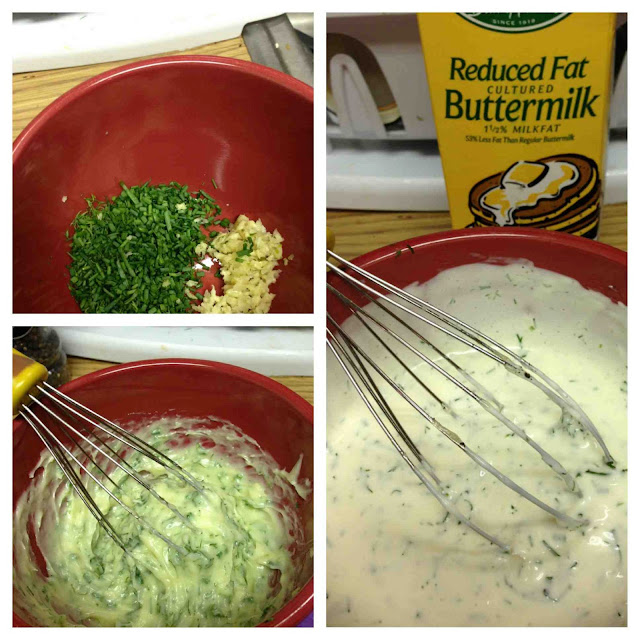
Chop up your fresh herbs, and squeeze your garlic through a garlic press. Throw them in the bowl. Whisk in the mayo until its like the most herb-packed mayo ever. Then add the buttermilk. Add a good amount of salt and pepper until you particularly think it tastes delicious b


Bam. Dill stuff. 

So far, I've gotten great enjoyment out of using it as both a dip, and a reeeeeeeally awesome dressing for salads! 


Try to resist just guzzling it like a super weird beverage. 
<3 Kat. 
Mayo makes my arm hurt.
1,056 calories.
No, that's not how many calories you'd gain from eating a bowl of mayonnaise, it's how many you'd burn from MAKING one. It's a bastard of a thing to whisk up, but well worth just how much it's going to make you want to throw it against the wall and never talk to it again. 

Homemade mayo is one of those things that, in the end, is as essential as someone who loves you. Sure, you'll want to scream at it from time to time due to all the pain it puts you through, but in the end it's irreplaceable and appears out of nowhere to help make your life better. Kind of makes sense for Mother's Day in a weird, wobbly sort of way. 

Once you make your own, you'll never want to go back to buying the weird, mysterious chemical goop that passes for mayo on store shelves. 


Here's what you'll need to demystify mayo:

One egg yolk
Juice of one lemon
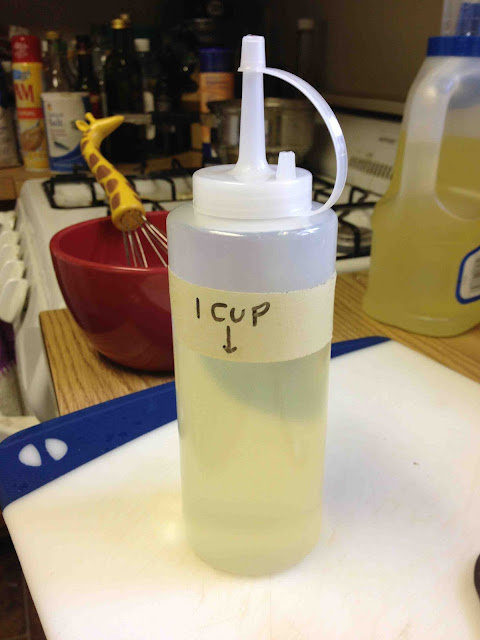
One cup of oil (dealer's choice.)
One teaspoon ground mustard
Light sprinkle of salt

Medium bowl
Whisk
Dispenser bottle (optional)


Pretty much, just remember this recipe by the fact that it is all ones. One yolk, one cup, one lemon, one teaspoon. Super simple. 


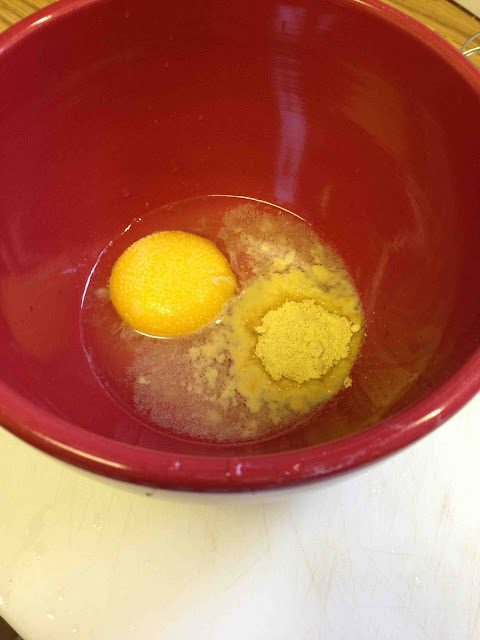
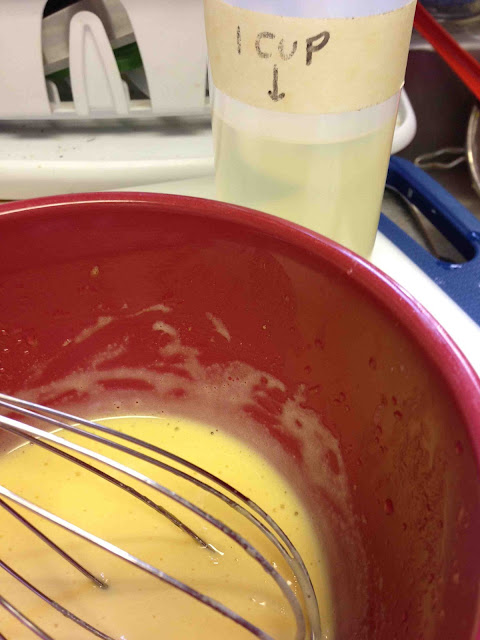
The first step to making mayo is about the only easy one to it. Put your egg, lemon juice, mustard, and salt in the bowl. 


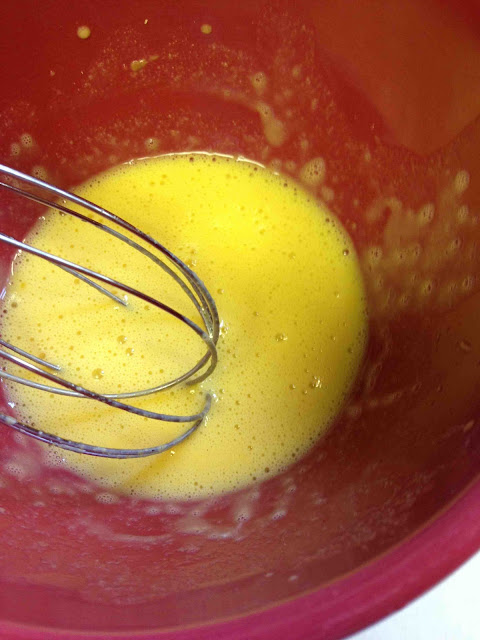
Whisk them together until it's all foamy. Don't worry-the foam is how you know everything's properly integrated. 


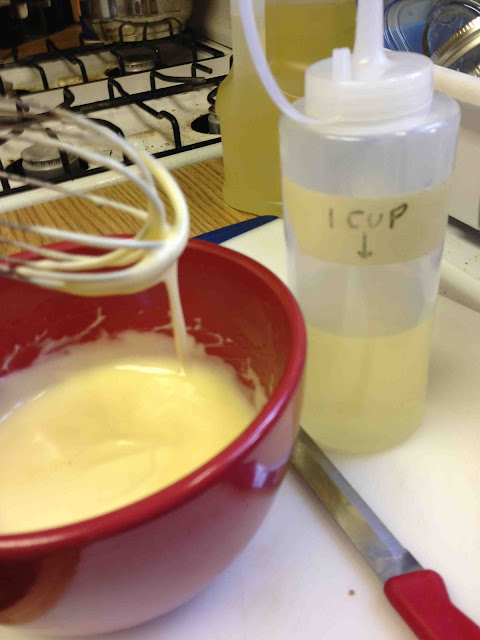
If you have a dispenser bottle (and I really recommend that you use one), load up your cup of oil into that dream machine and get ready for the long battle ahead of you. 


This part is important.

Before you get all gung ho and start pouring that oil in there, you MUST know the basics of making a successful emulsion. 

The MOST important thing is start with one drop. One single drop. Why? Think of it like that one person you know that had to slowly wear on you. If they'd spent all day every day with you since the moment you met them, you'd probably just go right ahead and knock out all their teeth sometime around the third or fourth hour of them pronouncing your name wrong and rubbing the snot from their nose all over your newly upholstered furniture. But if they'd taken the time to introduce themselves slowly before asking you to let them move in, you wouldn't suddenly be looking for someone to front the bail incurred by your unexpected assault charges. 

You really need to romance the mayo. 

So, like I said...one single drop. And then a single drop more. And a single drop more. All the while, whisking like crazy and praying to the mighty mayo lord that all your efforts won't be in vain. 


Somewhere around the 30th drop, the foam will almost completely disappear. 


Around the 60th drop of oil, the foam should all be completely gone, and you should start to notice a slight glossiness every time you add a new drop. 


Right about the time you've gotten so tired and so pissed of and your arm is in so much pain that you no longer want to be attached to it...something interesting starts to happen. ...it starts to work! Despite all logic, adding a liquid to another liquid has suddenly started to thicken, and become closer to a solid!  

And it's about time, too, because this is the "throw the bowl against the wall" portion of the program I was talking about earlier. Good news! You are no longer restricted to single dots at a time! You may now incorporate two or three dots at a time!


And once it just very nearly starts to be able to make extremely soft peaks on it's own? You can very nearly add the oil in a light stream! Keep going! You're almost there!


Ah, sweet relief. When you hear that final, gasping wheeze of the bottle as it releases that last little ounce of that gorram oil...you're finally finished! Wipe the river of sweat from your brow and put this stuff to use!

Now of course, if you're a smart person and have $8, you'll save yourself all the misery and pain and just buy a basic electric hand mixer from your local big box store. But come on...how much more impressive is it to say you whisked up this mayo by hand?

See you tomorrow, you beefcake you. 
<3 Kat.