My parents are terrible cooks. I mean seriously, senselessly terrible cooks. My mother created a terrifying meatloaf that may have been an original argument towards my vegetarianism, and my father lives almost entirely off of frozen chicken nuggets and disgusting hamburgers.
I probably never would have tasted worthwhile food had it not been for my ex-almost-step-mother, who twice a week would make pasta sauce from scratch-the leftovers of which we would always use on scratch-made pizza every single Friday. She introduced me to the idea that all things worth having can be made yourself, and that fear is something never to be felt in the kitchen. I hope some day, if I ever end up growing up, I'm at least half as awesome as her.
Even though our families eventually parted ways, mine never stopped making Friday night pizza. It's so ingrained in my being that I instinctively crave pizza on Fridays even if I forget what day it is.
Today is Thursday. Sure, that means this is a day early, but it gives you plenty of time to prep.
This is what tradition is made of:
2 c. Flour
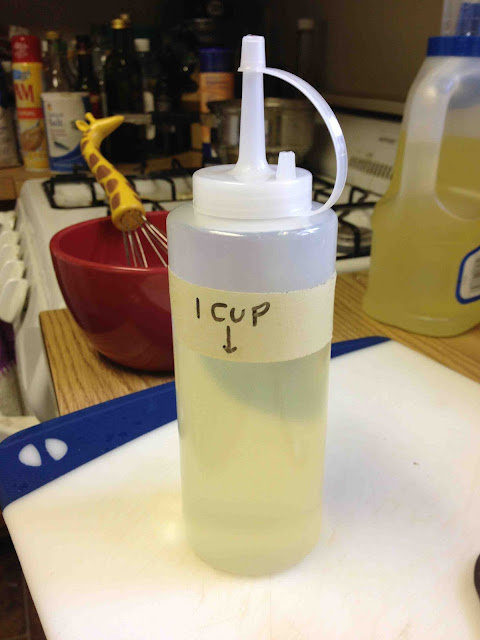
2/3 c. Water
1 1/4 tsp active dry yeast
3 TBSP sugar
3 TBSP whatever oil you've got
1/2 tsp salt
Toppings:
Whatever the heck you want.
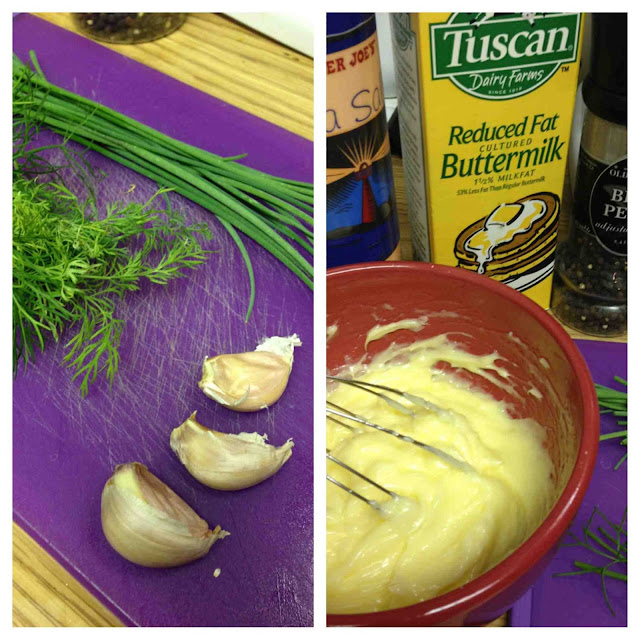
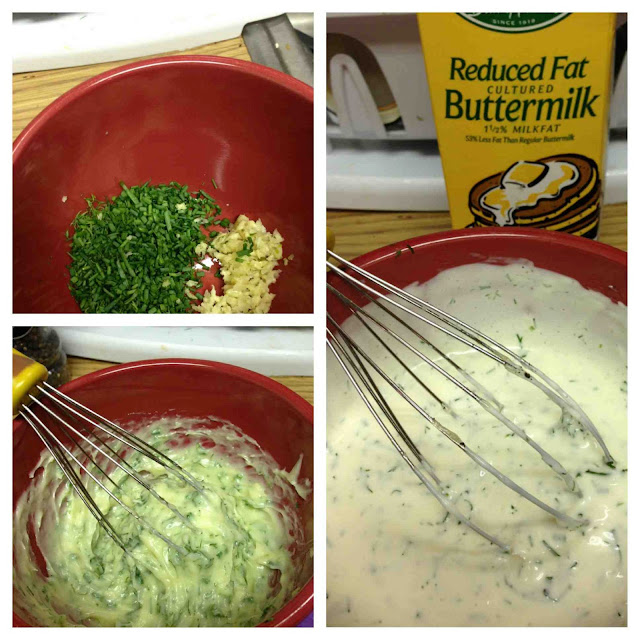
(But I suggest basics like sauce, mozzarella, Parmesan, mushrooms, salt and pepper, dried oregano, a swirl of olive oil, and some crushed garlic.)
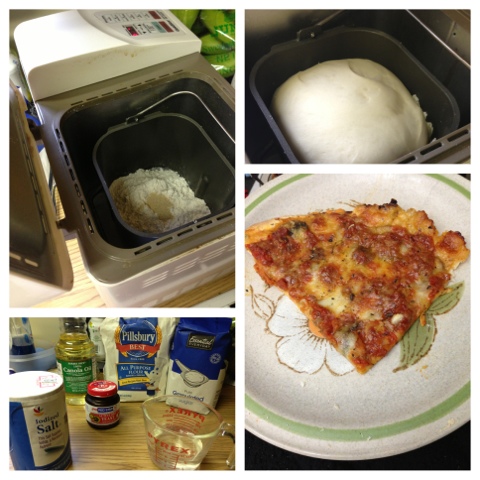
If you're using a bread machine, put everything in the bowl in the order it tells you to. Let it mix and rise, and skip the extra instructions that are about to be followed by those not lucky enough to have found one for $3 at a yard sale.
If you're still waiting for the one you ordered off of Amazon to arrive, you're going to need to start with the yeast.
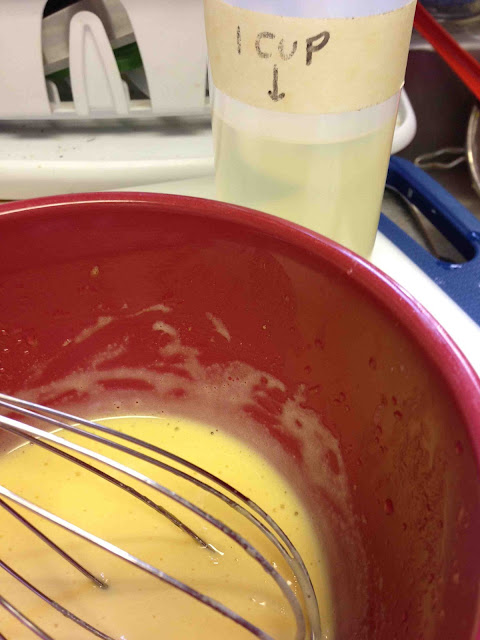
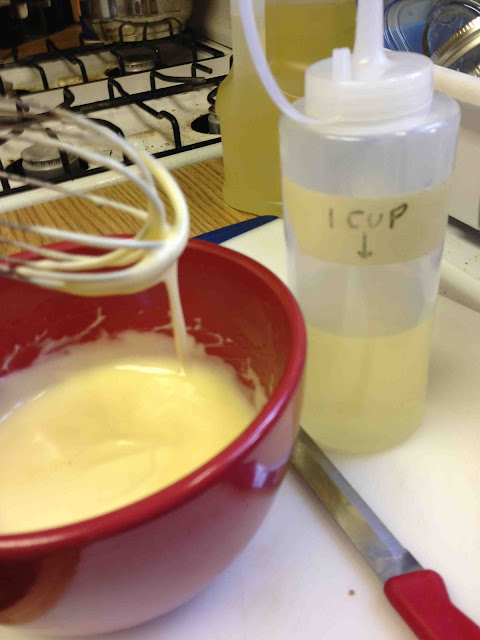
Dump the yeast and sugar into the water, which you're going to want to make sure is warm. Mix it around and let it sit until it's all foamy while you combine the other ingredients in a massive bowl. When you're good and ready, put in the yeast sludge and mix it real well until it looks like...well...dough. You may need to lightly sprinkle on more flour, but be careful because if you add too much the final product will be tough and unsatisfying.
You're going to knead the ever loving fuck out of the dough once it's combined and then cover it with a warm, wet cloth for about an hour and a half.
Welcome back to the rest of the class! Once your dough is good and risen, sprinkle your board lightly with flour and dump the dough on top. Then sprinkle the top of the dough with a wee bit more flour, separate it in half, and form the two blobs into balls.
Grab a rolling pin and flatten a blob out into whatever thickness and shape you'd like. You're going to want to rub some flour onto the rolling pin, by the way.
This is the part where everyone I ever teach to make pizza seems to become unsure of themselves. Honestly folks, there's not much to mess up here. It's already dough, all you need to do is flatten it enough to get the toppings you want onto it. And it's not like it matters if its a weird oval rather than a perfect circle if it tastes awesome.
The best advice I can give is push the rolling pin into the center of the dough and roll from the center, outwards-constantly rotating as well as flipping the dough until you've decided you're finished with it.
Preheat your oven to 400°F and slap your rolled-out dough onto a lightly floured tray, pan, or pizza stone before following the next step or you'll bugger up the whole operation.
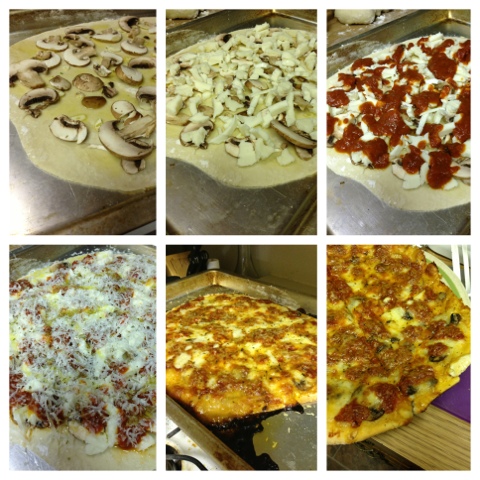
Put the toppings on in whatever order you want. I usually do mine upside down since sliding-off cheese is super lame. I'll usually put down the garlic, oil, "toppings", mozzarella, sauce blobs, dried spices, and shredded Parmesan in that order...but I highly recommend you do whatever you'd like in whatever order suits you.
Bake at 400° for 17 minutes, or until the house smells unbearably of pizza and it looks as browned as you prefer it.
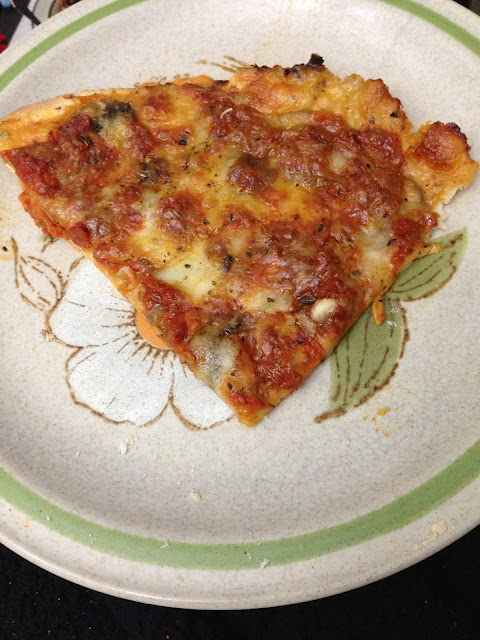
DO NOT EAT THE PIZZA WHILE IT IS STILL LAVA. I know this last and final step is basically impossible to do, but trust me...if you succeed in this your enjoyment of the pie will be significantly increased as you'll not have burnt off all your taste buds and actually be able to sense the flavor of more than just the initial bite.
Then again, that first bite is pretty well worth it.
Enjoy the shit out of this, y'all.
<3 Kat.